
How to Repair Lenovo Laptop Charger — Step by Step Guide
Lenovo laptops are durable, high-performance innovations and so are their power adapters or chargers. However, day-to-day use, careless handling, squeezing, dragging, carrying them around, etc can damage your Lenovo laptop’s chargers. Undoubtedly, your laptop’s charger will start fraying and there will be not many days left when the cables might get torn away.
In addition, the inner components of the power adapter can receive major damage. Perhaps, you can fix your Lenovo laptop’s charger on your own and save a few bucks on its replacement. Is your Lenovo laptop’s charger damaged? Check out this guide to revive your Lenovo laptop’s charger from fraying out and other damages.
Things You Need to Repair Your Lenovo Laptop’s Charger
Before you learn how to repair Lenovo laptop charger, you should arrange a few tools. The following tools are unskippable in case you want to recover the laptop charger on your own. Here are the tools to repair your laptop charger or power cable:
- Solder and soldering iron
- Bench Vice or something similar to hold the power brick or adapter
- Wire stripper or cutter
- Flathead screwdriver
- Hot glue gun and super glue
- Electrical tape
- Utility knife
- Multimeter
A multimeter is optional but it helps deliver the accuracy and desired result. Let’s move on to the process to repair your Lenovo laptop’s charger.
How to Repair Lenovo Laptop Chargers?
We assume that you are aware of certain electrical risks associated with the charger repair. Additionally, you have to expose a circuit that might be prone to delivering shocks or static electricity. However, you need not acquire in-depth knowledge in electricity yet you should know how to solder. Otherwise, you should contact a professional repair expert to fix your Lenovo laptop’s charger.
If you feel confident about what you are going to do then you can continue with the process:
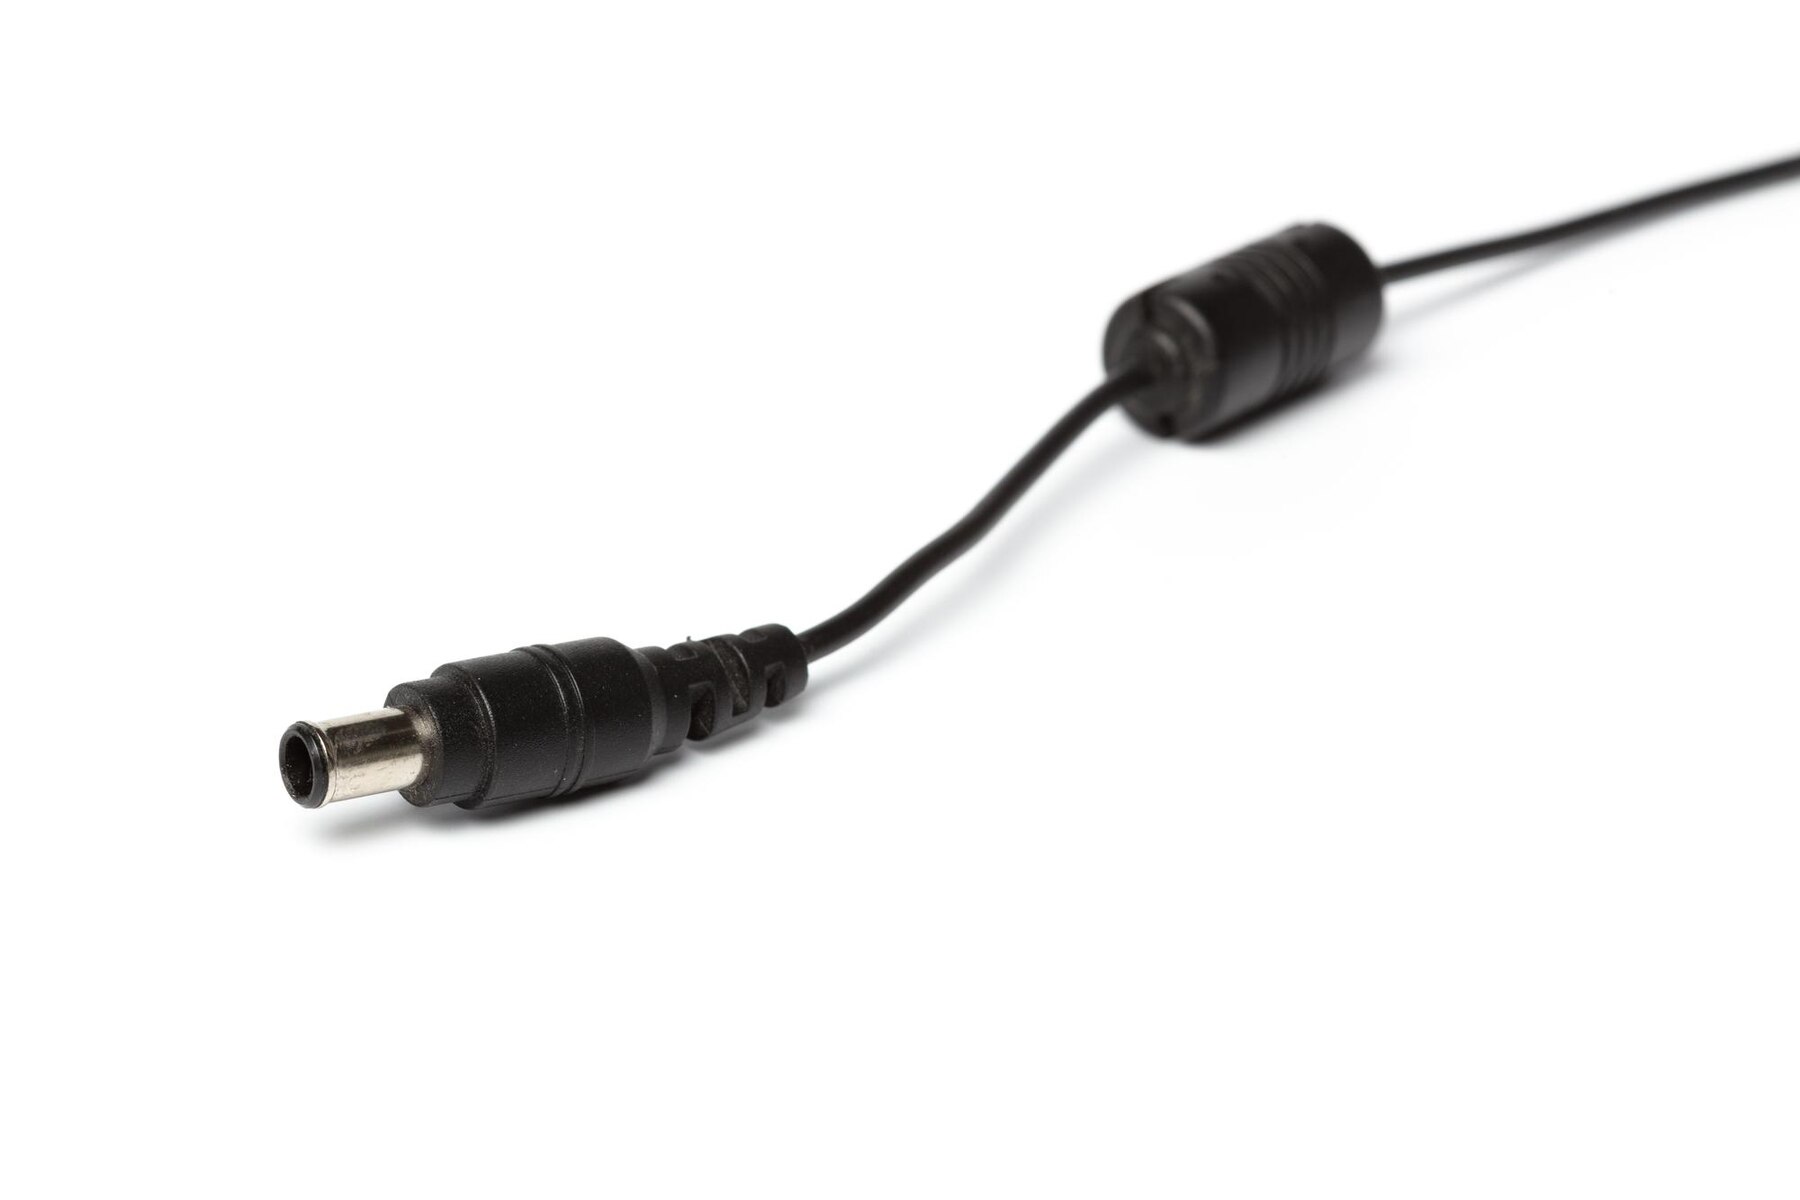
Detach the faulty Lenovo laptop’s charger from your laptop’s end as well as from the electrical outlet. For simplicity of the repair process, we will call the point where the laptop connects to a low-voltage end. On the other hand, the end that connects to the power source will be referred to as the high-voltage end.
Now, you need to detach the high-voltage end from the adapter in case it’s possible. If your charger cable has been frayed then slightly cut a single slit through the low-voltage end near where the cable has frayed. Make sure that the frayed section of the low-voltage cable stays connected to the power brick.
So, you have 3 separate parts now and they are the brick, the high-voltage cable, and the low-voltage cable.
Expose the Power Adapter
Power adapters or bricks are held tightly. Most of them are glued, locked, screwed, welded, or glued and screwed at the same time. So, exposing them can vary from one model to another. You can check out how you can disassemble the power brick as per the user guide available for your Lenovo laptop model.
It’s better to hold the power brick with the help of a vice before you cut the welded or glued parts. Take a utility knife to make cuts repeatedly along the joints of the two halves of the power brick. Stop cutting it when you have come over the plastic shell. Otherwise, it can harm the entire adapter.
Take your time and carefully cut along the border and pay attention to one side of the brick at a time. In addition, don’t cut near the low-voltage and high-voltage cables of the adapter. Just stick to the 4 horizontal sides or seams.
Open up the Brick Enclosure
Since you have loosened all the horizontal seams of your charger’s brick, now use a flathead screwdriver. Take your time and try to detach the plastic shell carefully with the help of the flathead screwdriver. Carefully remove the top and bottom plastic enclosures of the power brick. Next, you have to work with a bare adapter or brick.
Detach the Low-Voltage Cable from the Power Brick
Get a soldering iron to remove the low-voltage cable from the power brick. Remember that you have to detach the low-voltage cable by desoldering two connections. So, desolder them one by one at a time. And, also take note of which coloured wire connects to which port.
Additionally, pay extra attention to not touching anything else. You need to cut the low-voltage cable’s frayed part along its axis with the help of the utility knife. You can also attach the defective part back to the low-voltage cable if you can restore it.
Attach the Low-Voltage End
Hopefully, you have successfully mended the frayed portion of the low-voltage cable. Now, all you have is a good-quality low-voltage cable. Strip around 1-inch of the low-voltage cable jacket to find the inner connectors. Cut the circumference of the cable with a wire cutter carefully and scrape those connectors with a utility knife, thereafter.
Pull out the plastic jacket from the cable and throw it away. Now, again use the wire cutter to strip away ½-inch insulation from the insulated wire. It should be a 16 AWG wire. If both connectors are insulated then you have to repeat the ½-inch insulation stripping process for the other wire too.
Therefore, both connectors are not insulated now and you have to insulate them. You can use electrical tape or a ½-inch heat-shrink tubing piece. After insulating them properly, the next step is to solder the low-voltage cable to the power adapter. Be careful while connecting specific wires to the corresponding ports on the power brick.
Assemble the Power Brick
We assume that you have successfully connected the low-voltage cable to the power brick. Now, the adapter should be ready to get its plastic enclosure back. Place the power brick on the bottom of one of its plastic enclosures.
After that, apply a layer of super glue on the seam of two halves of the enclosure. Place the other part on the bottom half of the enclosure and hold them firmly. You can clamp the entire brick enclosure for a few hours to make sure that everything has been glued properly.
Take Preventive Measures to Prevent the Wire from Fraying
Mostly, the low-voltage cable frays near the power brick due to throwing the charger in the bag or unnecessary dragging and squishing. To make sure that your Lenovo laptop charger doesn’t fray in the near future, you can perform this step.
Use a hot glue gun to add a strain relief around the connection where the low-voltage cable meets the power brick. This will make your repair sustainable.
Test the Charger before you Use
Attach the high-voltage cable to the adapter and connect the entire Lenovo laptop charger to an electrical outlet. Check the voltage reading by connecting the multimeter tip to the low-voltage cable. You can refer to the nominal voltage reading specified on the power brick to get an idea if your laptop charger is working properly.
It’s a victory if your laptop’s charger is charging the device without any disturbance. In addition, you have saved the world from unnecessary e-waste.
When Should You Replace the Lenovo Laptop Charger?
Repairing your Lenovo laptop charger is a sustainable approach but things can get worse. And, there will be no other way than to replace the existing charger. Fraying is not the only defect that your laptop charger can receive. Internal complications, power surges, etc can weaken a power adapter.
As a result, you might notice the power brick overheats often. If left untreated or not replaced, then the entire cable might catch fire. Hence, you should contact professional laptop repair experts if you experience anything more than just fraying or irregular charging.
Experts will examine the laptop charger carefully and repair it internally, if possible. Otherwise, they might suggest you get a replacement. After all, a faulty charger can damage your Lenovo laptop’s power cycles.
How to Take Care of Laptop Chargers: Recommended by Experts
It’s easy to extend your Lenovo or any laptop’s charger’s shelf-life. Try not to wrap your laptop’s charger cables tightly around the power brick. This can cause a great strain and the low-voltage cable can tear down easily. On the other hand, it’s better to use a surge protector to avoid accidents and damage to the charger.
Place the power brick or transformer in a place where it is not crowded. The power brick requires room to breathe and dissipate the heat to stay cool. In addition, you should not place the computer-connecting end of the charger near any sharp edge.
Make sure that you carry the laptop charger separately in a different casing, if possible. Finally, you should keep the laptop charger away from water or any type of liquid. Keep these things in your mind and you’re good to go.
Hire Professionals from Tech Support Dubai for Further Help
If you don’t know how to repair Lenovo laptop charger, don’t worry. Reach Tech Support Dubai’s experts and they will take care of everything. Get efficient and amiable tech services from Tech Support Dubai.